Service Color #
This section sets the color of the service when booked on the appointment book.
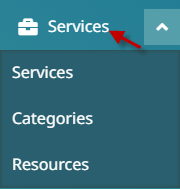
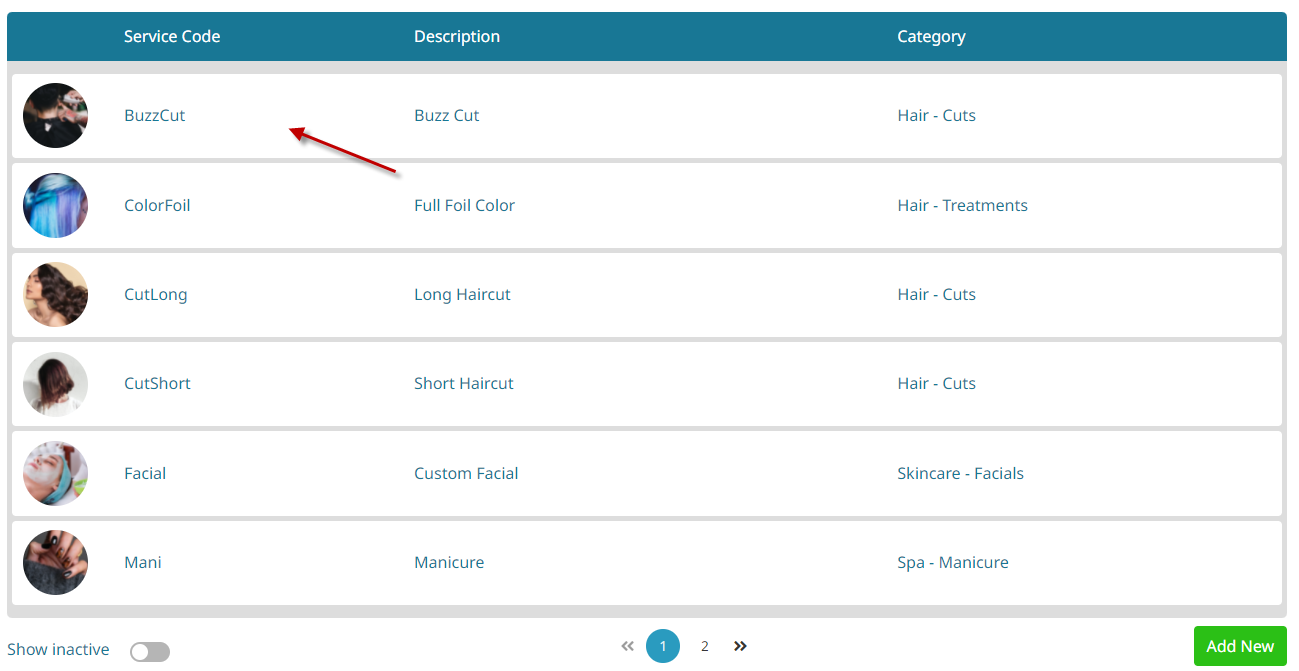
- Go to Services in the main menu.

- Click on an existing service to edit.
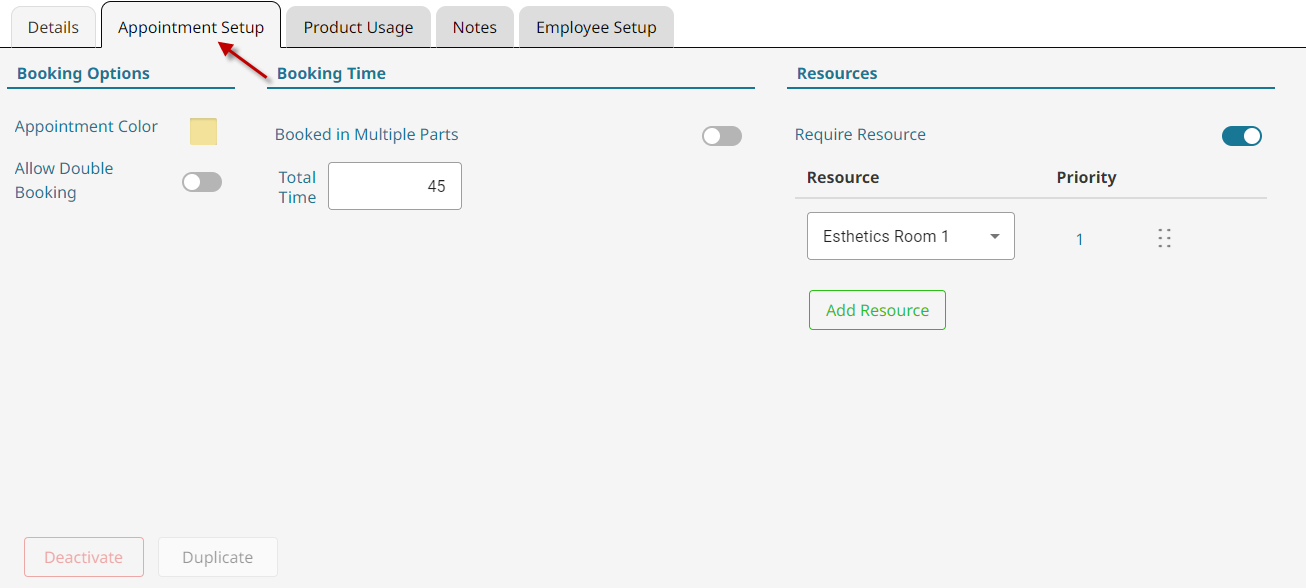
- Click on the Appointments Setup tab.

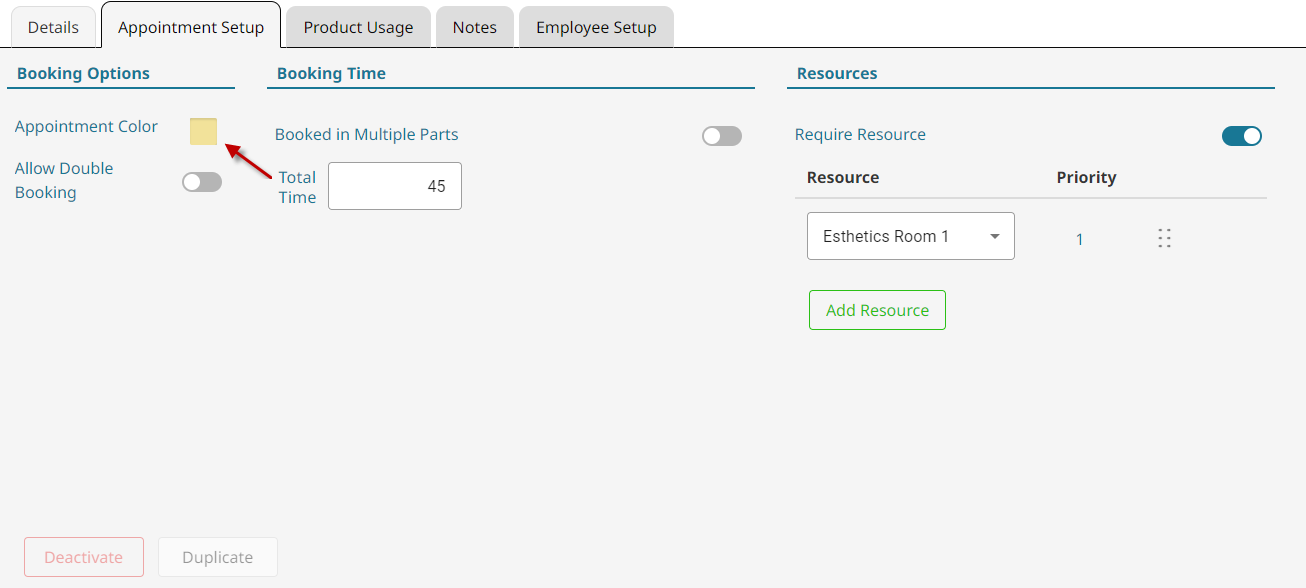
- Click on Appointment Color.

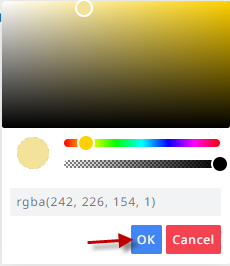
- Select the preferred color and click OK.

Booking Times #
This section dictates the default time that is set every time someone books the service.
Add/Edit Service Booking Times #
- Go to Services in the main menu.

- To add a service click Add New.

or to Edit a Service, click on an existing service.
- Click on the Appointments Setup tab.

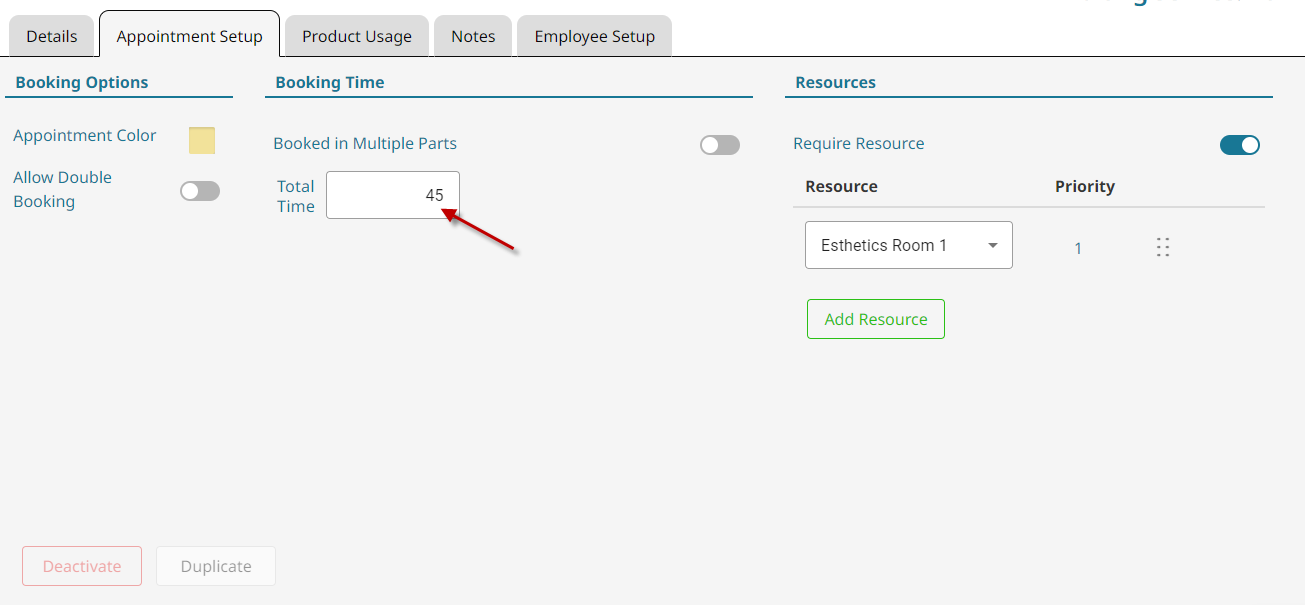
- Set the Total Time the appointment will take in minutes.

Booking in Multiple Parts #
A service can also be booked in multiple parts (Primary, Processing, Technical, Finishing). The difference between the parts is explained at Step 4.
- Go to Services in the main menu.

- To add a service click Add New.

or to Edit a Service, click on an existing service.
- Click on the Appointments Setup tab.

- Enable Booked in Multiple Parts. Then Add Parts as required.

- Primary: Is the main part of an appointment and is required. This is booked with the primary service providing employee.
- Processing: When booked this part of the appointment is left open on the book to make room for something else to be booked in it’s stead.
- Technical: This is a part that can be assigned to another employee, like an assistant. But this does not show up on the book.
- Finishing: This time shows up on the book, and can be booked with someone other than the primary service provider.
Appointment Resources #
Appointment resources are used to represent a room, station, or tool that must be available for the client to be able to book in for a certain service. When booking a service with assigned appointment resources, the system will check the time slot of the assigned appointment resource to confirm that the time slot is available to be booked.
Add a New Resource #
Instructions on how to add another resource that can be selected in any service.
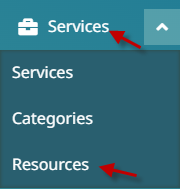
- Go to Services, then Resources.

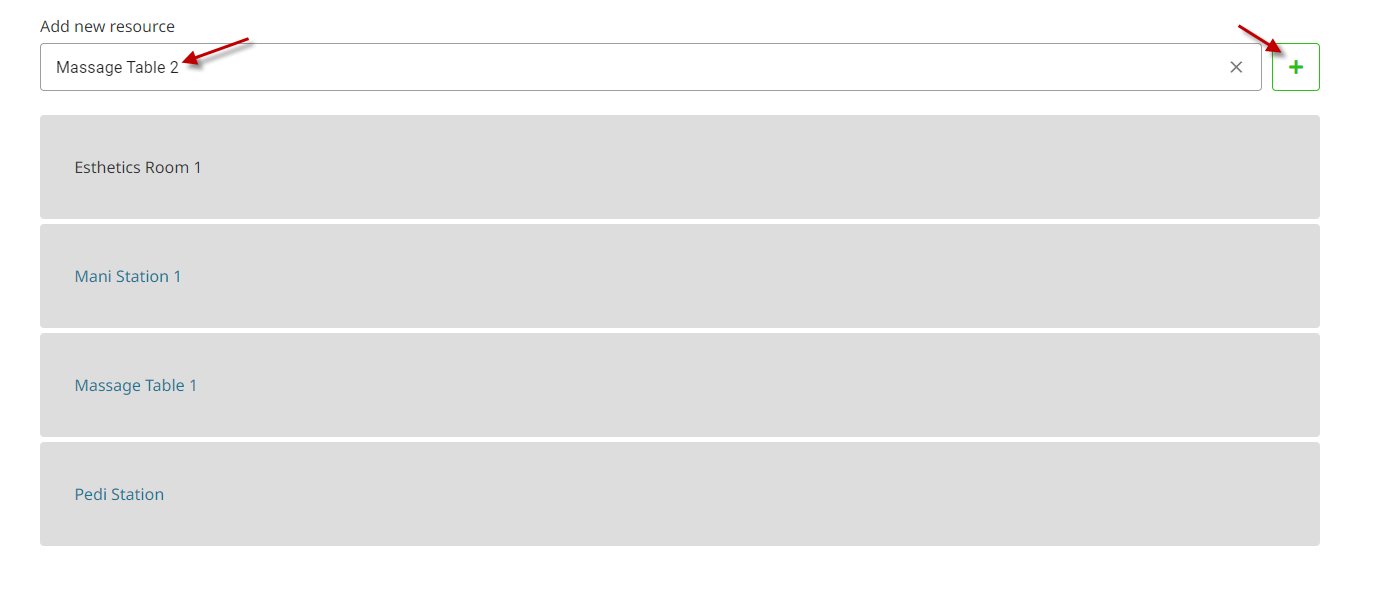
- Type in the preferred resource name, and click the plus button.

Assign Resources to a Service #
This will allow you to assign resources to services. Which will limit the amount of those services booked in a certain timeframe, dependent on available resources.
- Go to Services.

- Click the Appointment Setup tab.

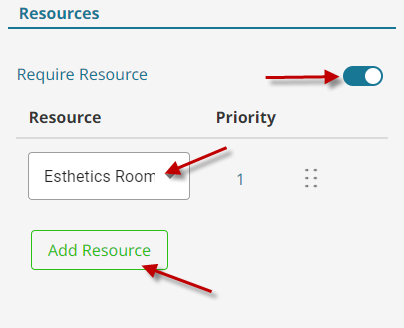
- Toggle Require Resource on. Then choose the resource from the drop-down.

- Additional resources can be selected by clicking the Add Resource button.
- Click Save.

Edit a Resource #
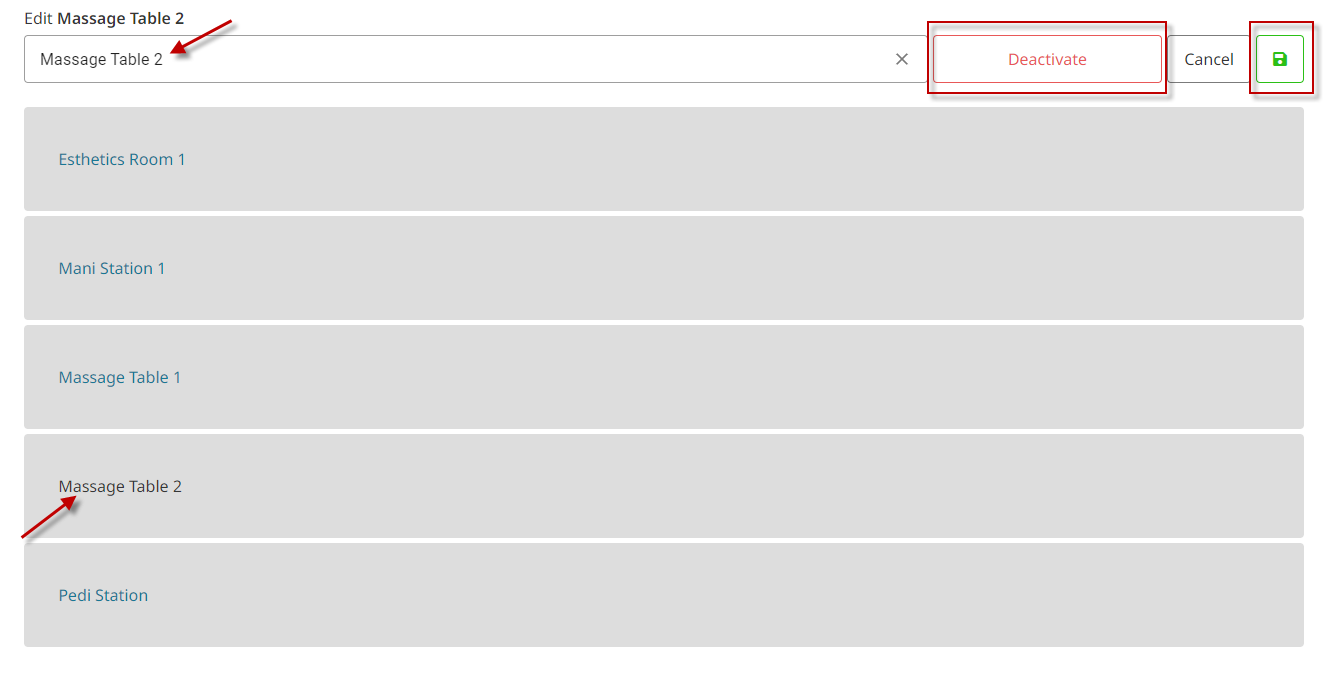
- Go to Services, then Resources.

- Click on the desired resource to edit. Then either change the name and save, or deactivate it.


