
- Go to Utilities on the main menu.

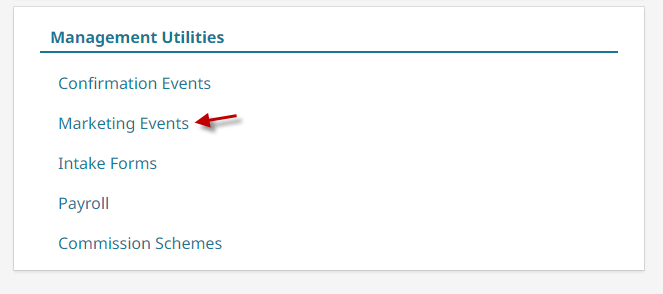
- Click on Marketing Events under the Management Utilities area.
- Go to Add New.
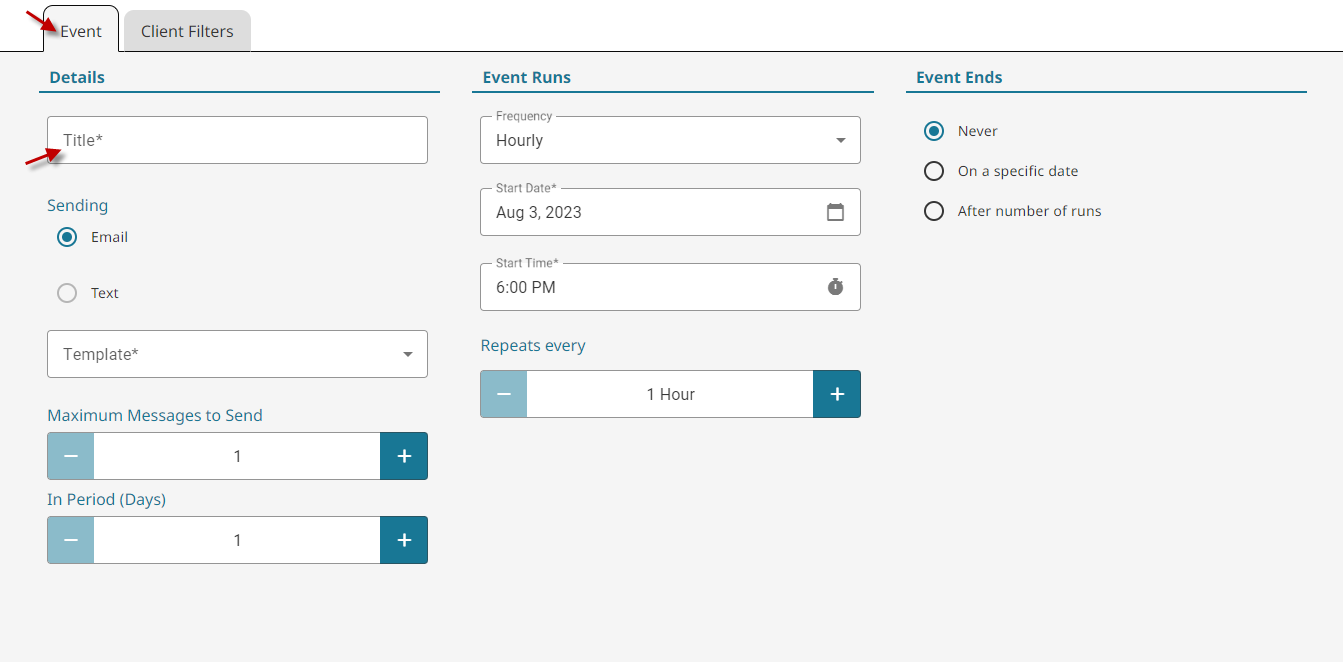
- Type in the title of your campaign. (This cannot be seen by customers.)
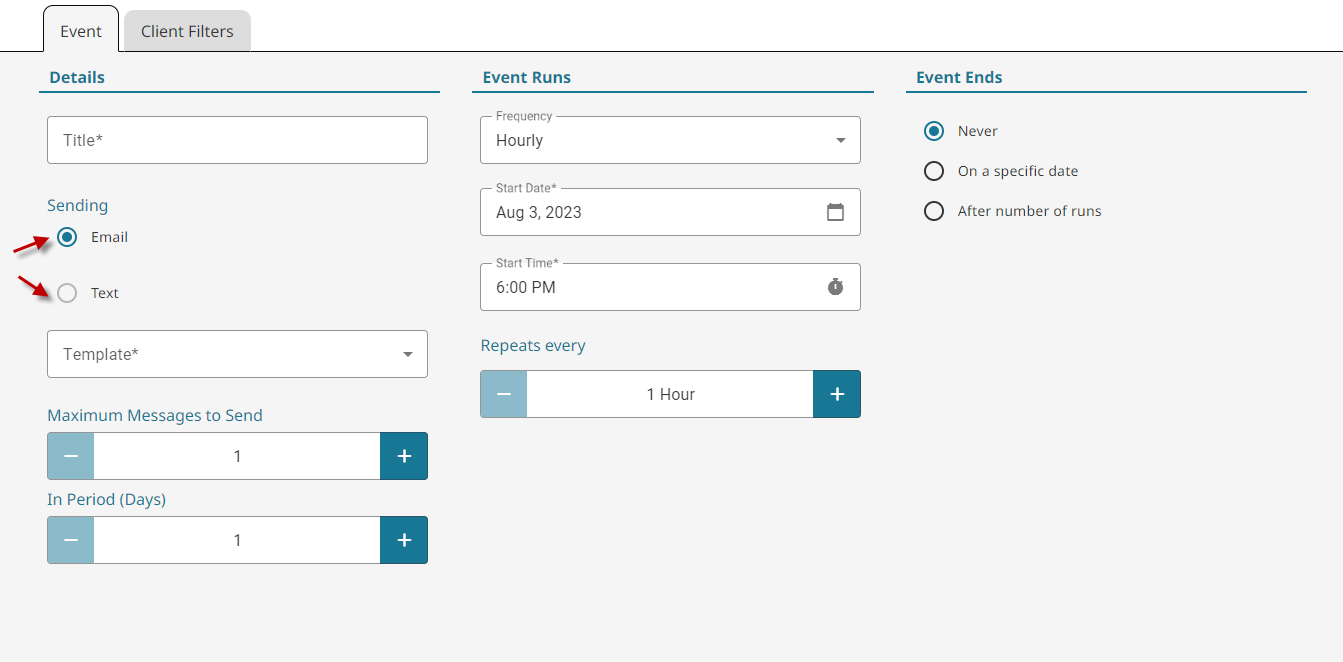
- Choose the send method you prefer, Email or Text.
Note: If one or both of these selections don’t work, you may be missing a setup step.
How to Set Up Email
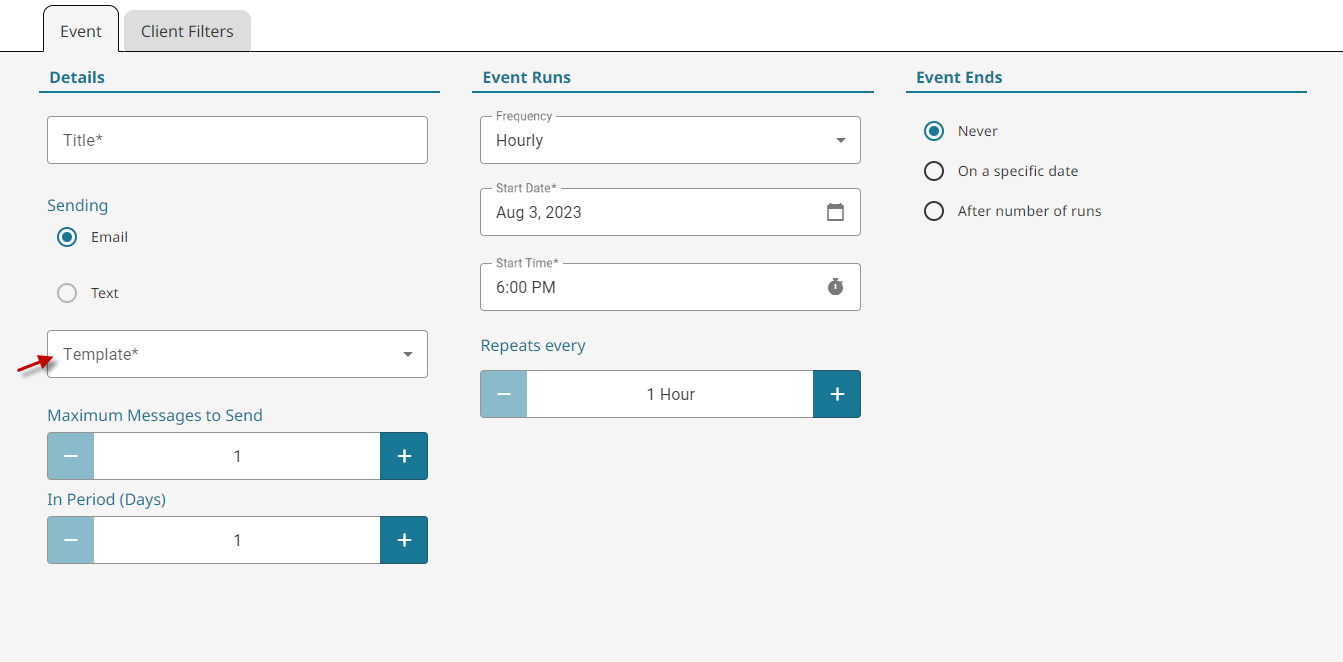
How to Set up Texting - Select the template you want to use from the drop-down menu.
Note: If you haven’t created a template, you can learn how to do that here for email and here for text.
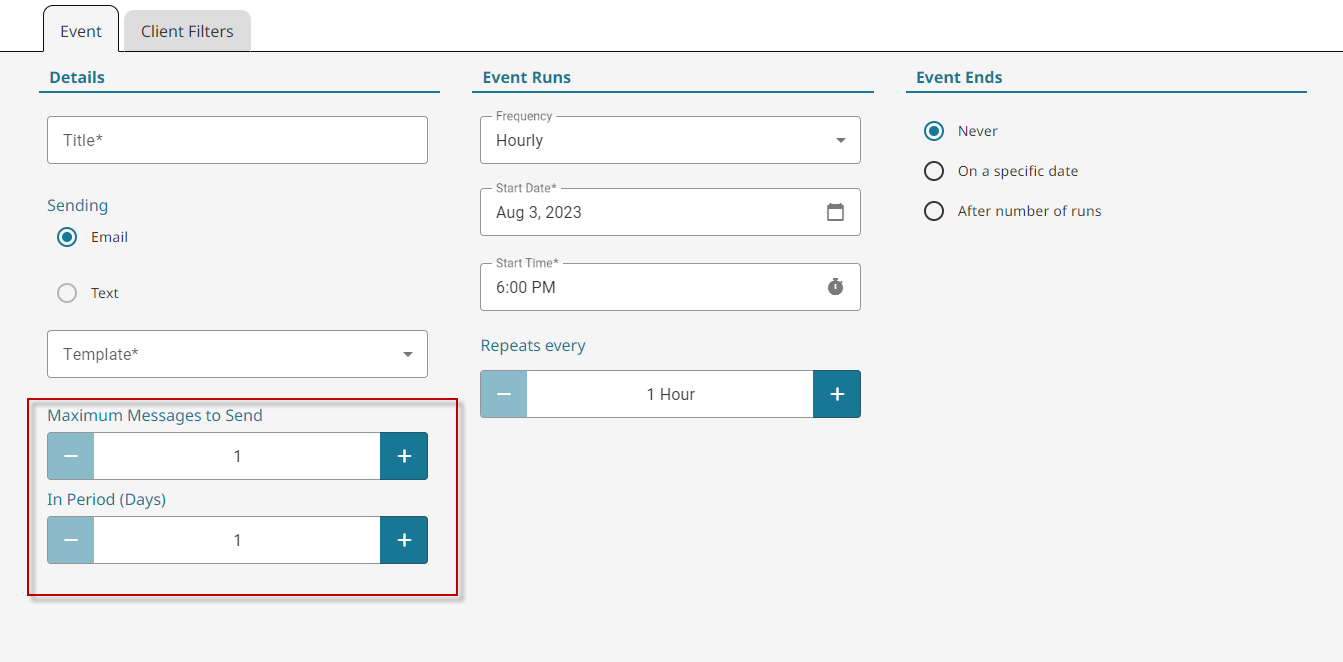
- Set the Maximum Messages to send per person, per period. Typically, this can be left at default. But it can allow you to set up a higher frequency send schedule, without spamming clients who have already been sent a message.
Example: You could have a marketing blast send every day, but only once per person every 30 days. This would allow the campaign to send to new and existing clients promptly over the next 30 days without causing a spam issue.
- Set the frequency in which you want to send the message to your clients.
It can be five different options.- Hourly – Every 1-12 hours.
- Daily – Every 1-500 days.
- Weekly – Every 1-100 weeks, based on the selected day of the week.
- Monthly – Every 1-50 months, based on a numbered date or a selected day of the week.
- Once
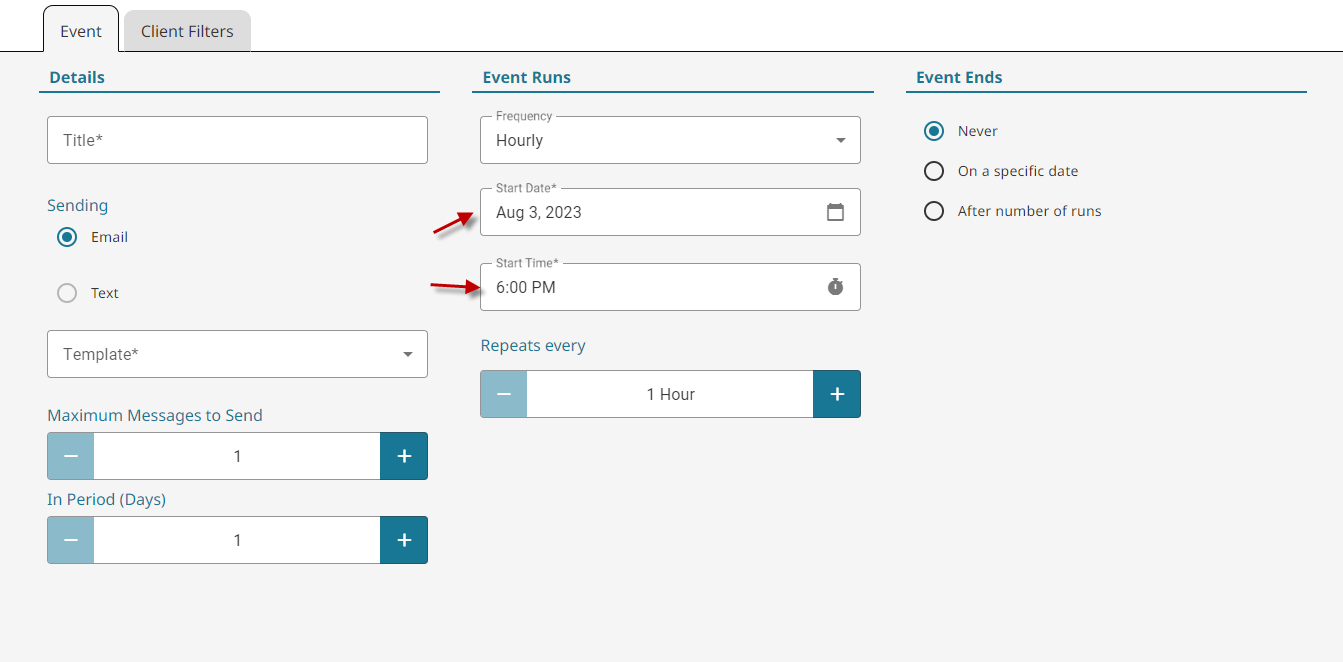
- Set the Start Date and Time of the event.
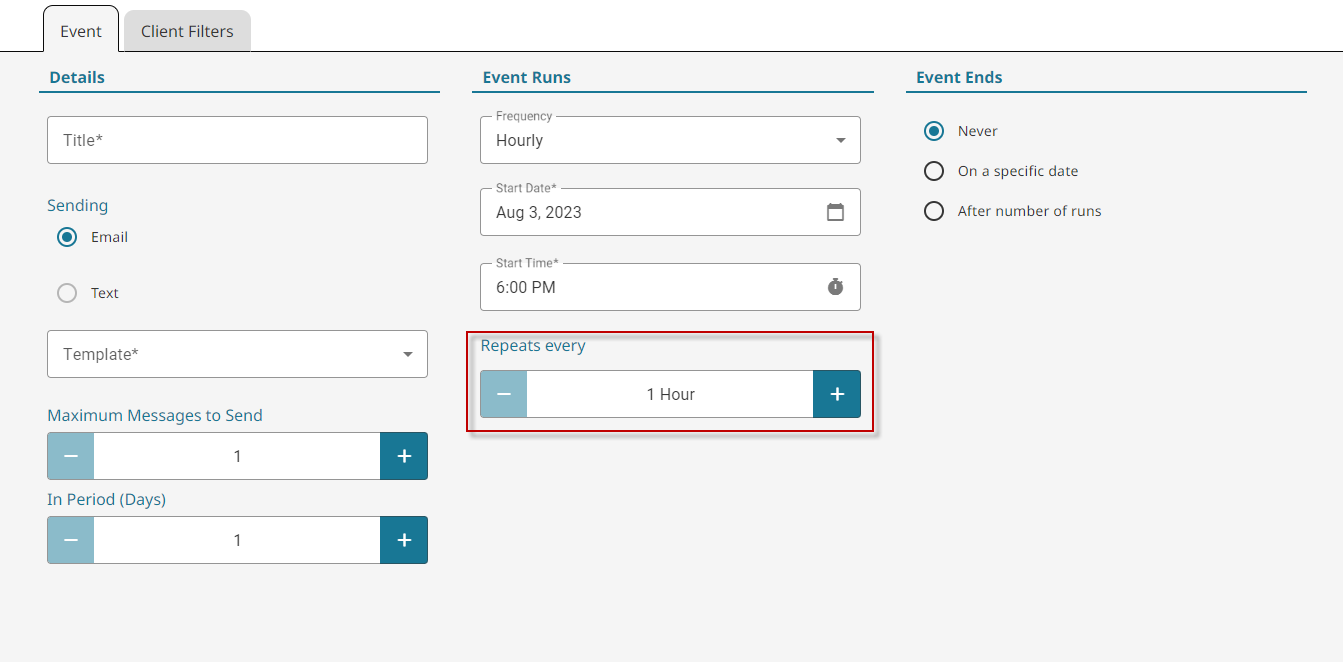
- Select your preferred repeat frequency. This will change based on the frequency selected in step 8.
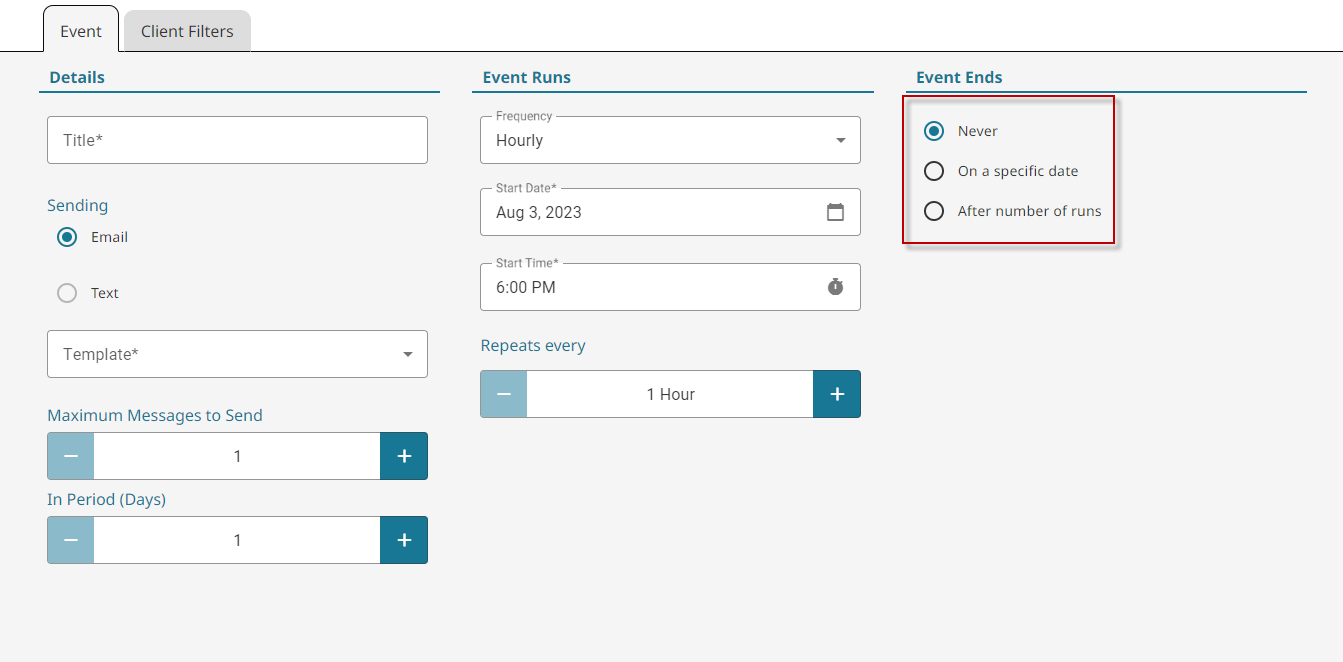
- Select when the event ends.
- Never – The event will run on your set frequency for as long as the campaign exists.
- On a specific date – The event will stop running on a set calender date.
- After number of runs – Once the event has run x number of times, it stops running.
- Click on the Client Filters tab.
- Select the filter(s) you want to use to narrow down your target clients.
Be sure to Activate each filter. It will track the count of the selected clients at the bottom-right of the screen. Client filters are explained in detail below.


Client Filters Explained #
- First in Date
This is to filter for clients who made thier first ever purchase in your software within a date range. - Last in Date
This is to filter for clients who made any purchase between a date range. - Birthday
Select a date range for the Client’s birthday. The Month and Day are required in the client’s birthday in order for them to be considered. This is set under the Profile tab in thier file. - Gender
Filter for Male, Female, and/or Unspecified. - Client Category
Filters for clients who are either in or not in a specified category, which is set under the Profile tab in thier client file. - Employee
Filter by a specific employee who has performed or has not performed a service for the client within a date range. The specific service performed can also be filtered for. - Email
Filter for clients who have or do not have an email on file. - Phone
Filters for clients who have any phone number on file, have a cell phone on file or do not have a phone number on file. - Purchases
Filter your client list first each of the following purchases.- Any Item – Purchased or didn’t purchase any item withing a specified date range.
- Service – Purchased or did not purchase a specified service or category of services within a date range.
- Product – Purchased or did not purchase a specified product or category of products within a date range.
- Gift Card – Purchased a gift card for a specified amount or range of amounts.
- Intake Forms
Filter for clients who have completed or not completed a specified form, and whether that form has been expired.
- Go to Utilities on the main menu.
- Click on Marketing Events under the Management Utilities area.
- Select an event.
- Click Deactivate, and confirm the deactivation.

- Go to Utilities on the main menu.
- Click on Marketing Events under the Management Utilities area.
- Select an event, or toggle on Show Inactive and select an event that has ended.
- Click on the History tab to view a log of all sends and attempts to send.


