
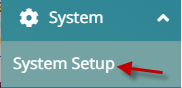
- Go to System in the main menu, then System Setup.

- Click on the Online Booking tab.

Click Enable Online Booking (if you have that option).

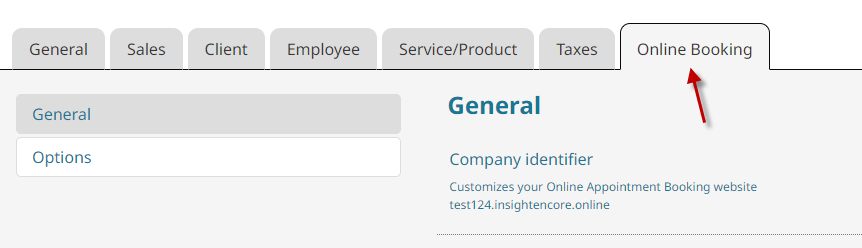
- Go to System in the main menu, then System Setup.
- Click on the Online Booking tab.
- Click General.
- In the Company Identifier section, type your preferred sub-domain. The full address is shown as circled.
- Click Save.


- Go to System in the main menu, then System Setup.
- Click on the Online Booking tab.
- Click General.
- In the Website URL section, type your main website’s URL.
- Click Save.

- Go to System in the main menu, then System Setup.
- Click on the Online Booking tab.
- Click General.
- In the Logo section, click on choose file.
- Find and click on the picture file you want (.JPG, .GIF, .PNG, .BMP), then click Open.
- Click Save.
To customize your online booking options, follow these simple steps:
- Go to System in the main menu, then System Setup.
- Click on the Online Booking tab.
- Click on the Options button.
- The Booking Delay Restriction options allow you to limit the number of days or hours clients can book in advance. This is particularly helpful to prevent clients from booking too close to their appointment time. You can set this if you would like to limit clients from booking a certain number of hours or days before their appointment.
- The Interval will define the minute increments in which appointments can be booked. You can set this in 5 minute increments. For instance, if it is set to intervals of 15, clients will see available time intervals of 10am, 10:15am, 10:30am, 10:45am, and so on. If it was set to intervals of 30, clients would see 10am, 10:30am, 11am, and so on.
- Choose the service display format and the employee name format that you prefer.
- Add your business’s terms and conditions. This can include things like age requirements to book, requirements upon arrival, and so on.
- Add your cancellation policy. Make sure to include a description of the booking process, any no-show, deposit or late fees if there are any, as well as how much notice they must give to cancel to avoid fees.
- The success message will display to the client after the client successfully books an appointment.
- Choose if you would like to display the default service duration to clients when they book.
- If an employee has a different service duration time when booking, it will show each employee’s set time after the client chooses the employee.
- Check the box to Display service prices if you want prices displayed in online booking. If there are multiple charge level prices for one service, a price range will be displayed instead.
- The ‘Automatically verify new bookings’ checkbox can be checked if you do not want to manually approve each appointment after it is booked online. We recommend checking this box initially when setting up online booking.
- Note: If you find yourself needing to reschedule many appointments booked online, you can uncheck this to be able to review and change the pending booking before it is fully booked into the appointment book. Please note that you will need to contact the client if something is being rescheduled; they will not be automatically notified.
- Click Save when done.


