- Go to Clients in the main menu.

- Enter your PIN if required.
- Click Add New
- Fill in all required fields.
- Click Save.

- Go to Clients in the main menu.
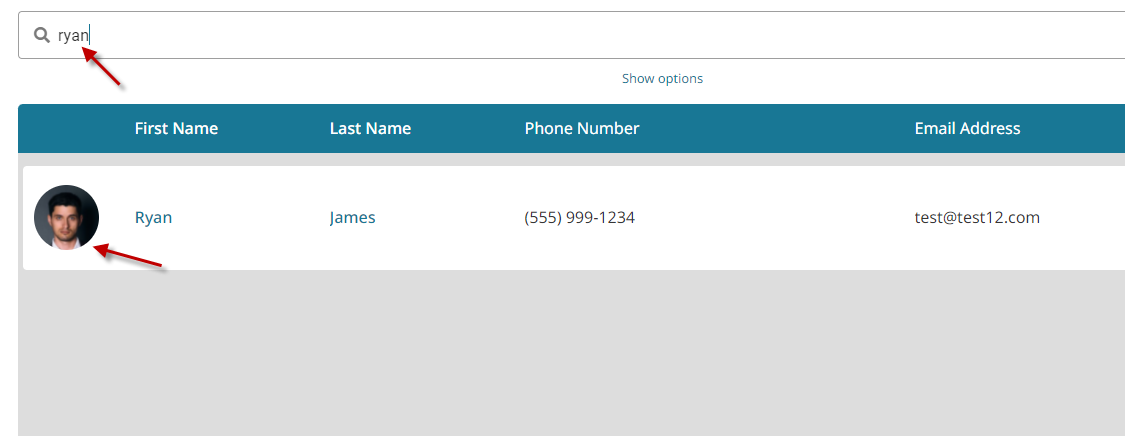
- Search for a Client to edit, and click on them.
- Go to Clients in the main menu.
- Search for a Client to edit, and click on them.
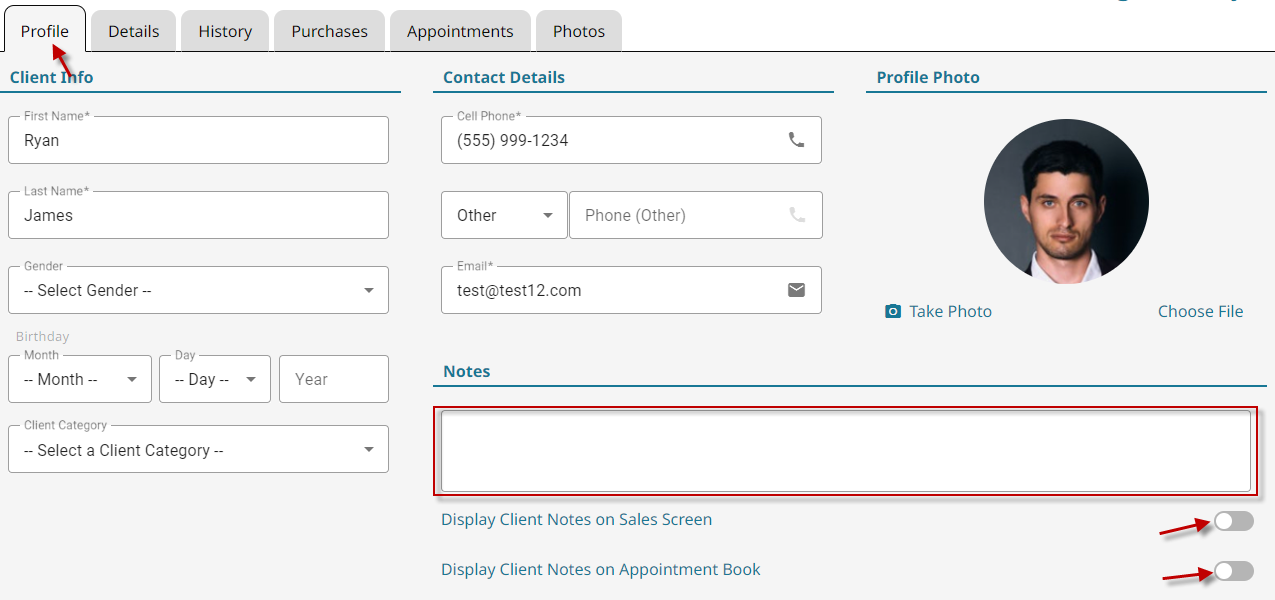
- Under the Profile tab, you can enter the Notes at the bottom-right.
- Toggle on whether the notes should display on the sales screen or the appointment book.
- Click Save.
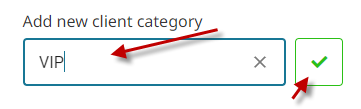
- Click on the Clients button in the main menu.
- Select Client Categories from the sub-menu.
- Type in the category name and click the green check button to complete.

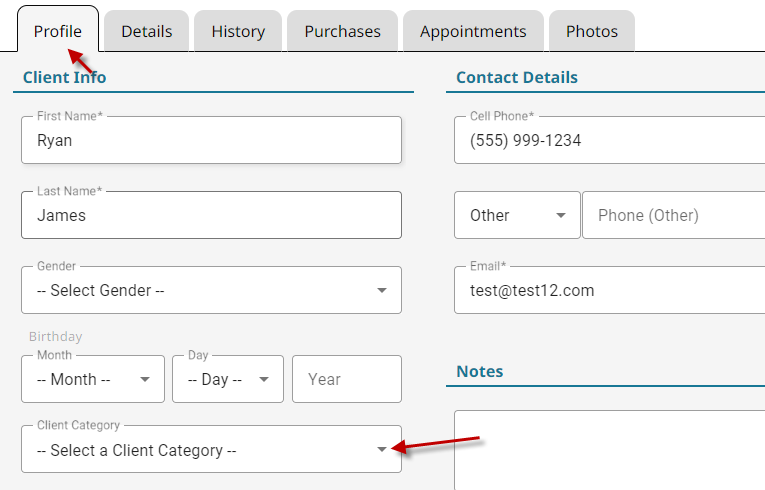
- Go to Clients in the main menu.
- Search for a Client to edit, and click on them.
- Select a Category from the drop-down. (If the Category you want doesn’t exist, instructions on how to create one are here.)
- Click Save.
- Go to Clients in the main menu.
- Search for a Client to edit, and click on them.
- Click the Details tab.
- Check on the preferred contact methods for the client. For both appointment confirmations and marketing. (Leaving all three unchecked sets the client to No Contact)
- Click Save.


- Go to Clients in the main menu.
- Search for a Client to edit, and click on them.
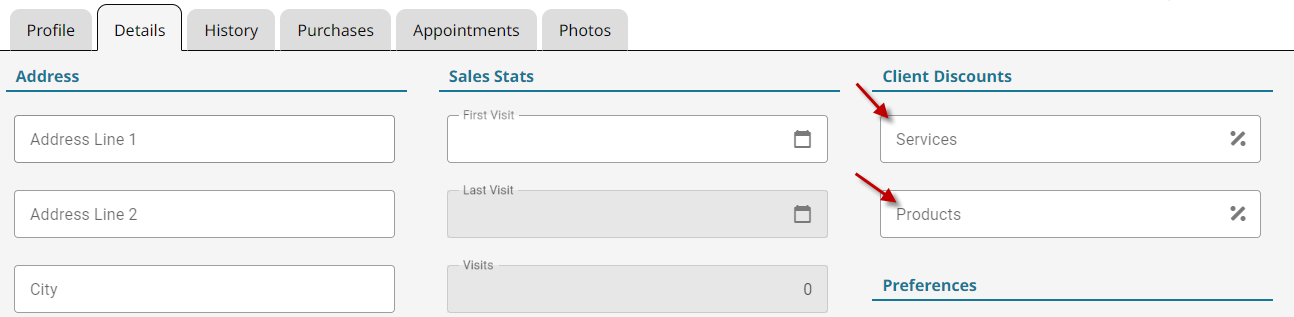
- Click the Details tab.
- Type the preferred discount percentages for the client.
- Click Save.