
Per Day #
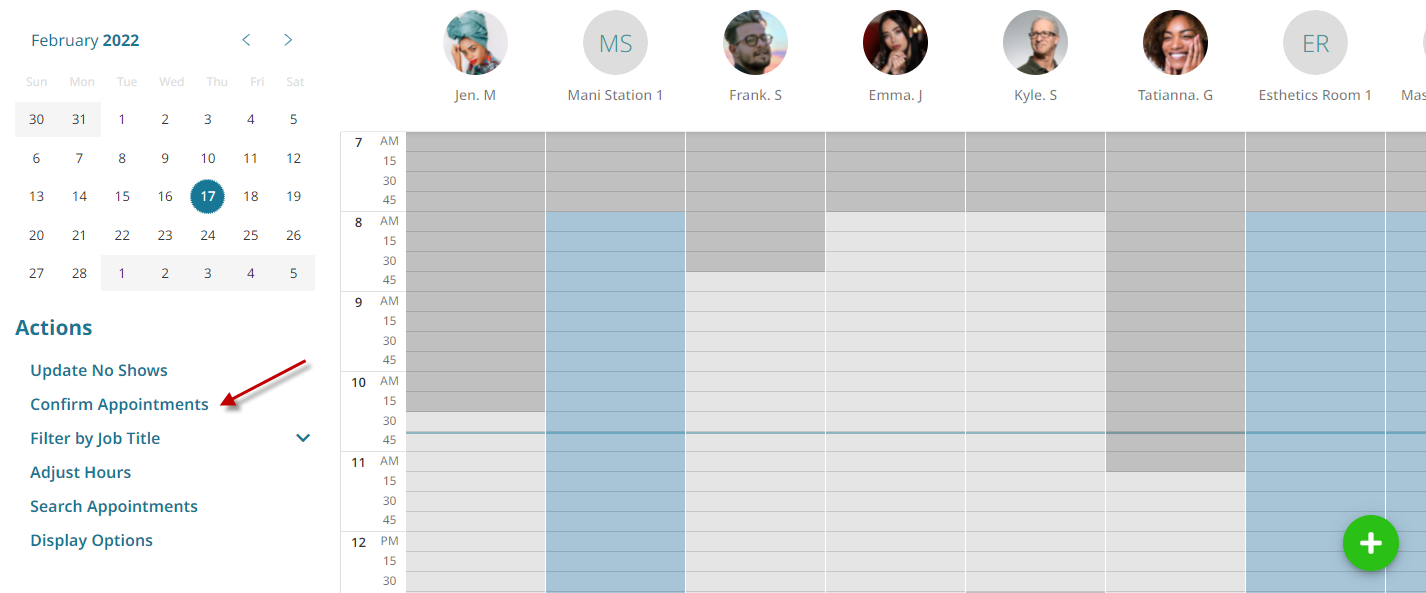
- Go to Appointments on the main menu.

- Select the date on the calendar.

- Click Confirm Appointments.
- Click either Send Texts or Send Emails.
Per Appointment #
- Go to Appointments on the main menu.
- Click on the preferred appointment.
- Click the Menu button.
- Click Confirmations.
- Click either Send Text or Send Email.

Per Day #
- Go to Appointments on the main menu.
- Select the date on the calendar.
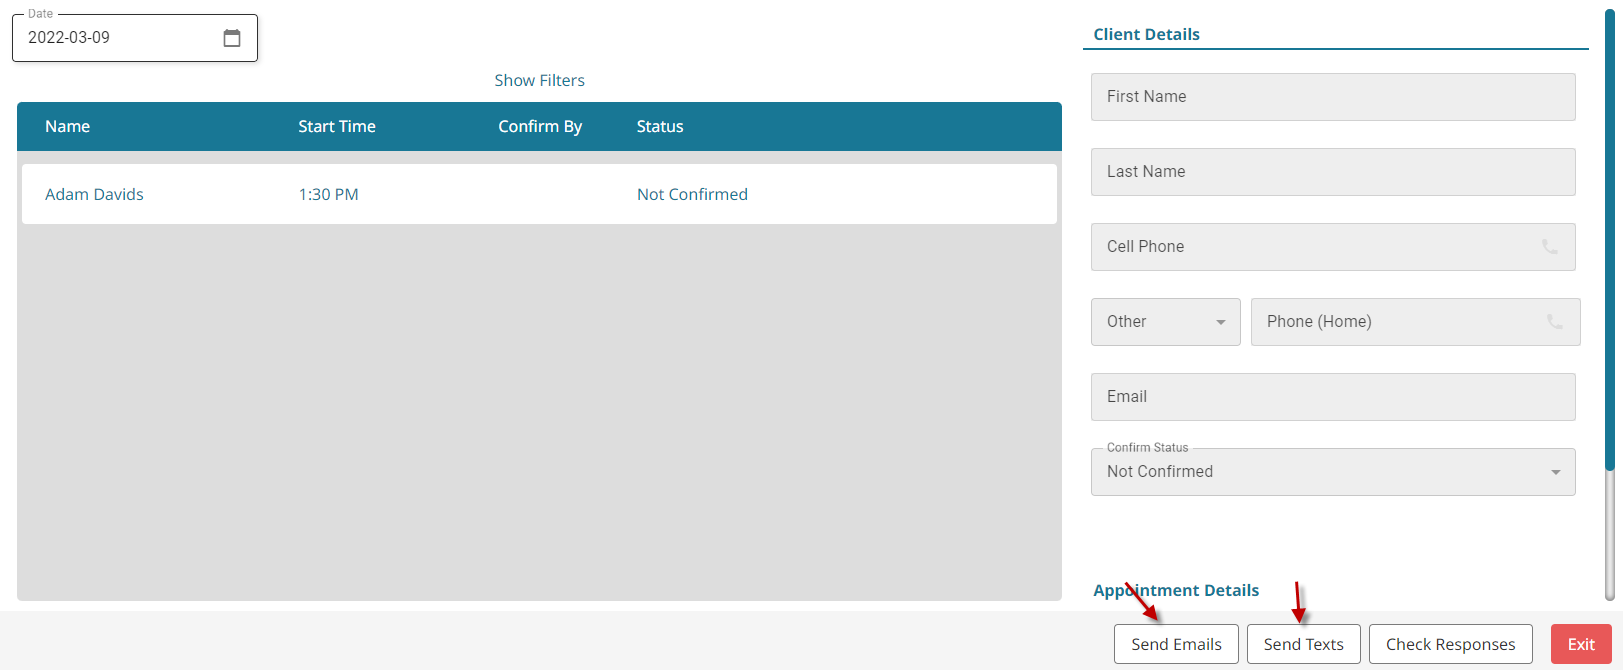
- Click Confirm Appointments.
- The confirmation status for each appointment is displayed under the Status column.

Per Appointment #
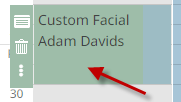
- Go to Appointments on the main menu.
- Look for a check mark on the appointment. A check mark means the appointment has been confirmed, no check mark means the appointment has not been confirmed yet.


